Start and End Frame Control
Use one image to define the opening frame and another to define the ending frame of the generated video.
Bring two images together in a short AI video with MiniMax H3. Upload start and end frames, describe the motion, and generate for free without an account.
Write a prompt, choose a format, and your completed image or video will appear in this workspace.
Image to Video AI can turn a clear still image into an emotional moment, a cinematic transformation, or a playful character effect. Explore these popular directions before choosing your workflow.
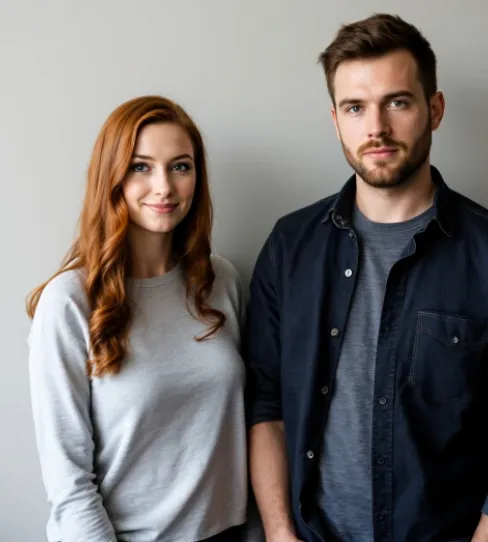 Warm interaction
Animate two people into a gentle embrace while keeping faces, framing, and body movement easy to follow.
Best source: two front-facing subjects with visible shoulders and space between them.Explore AI Hug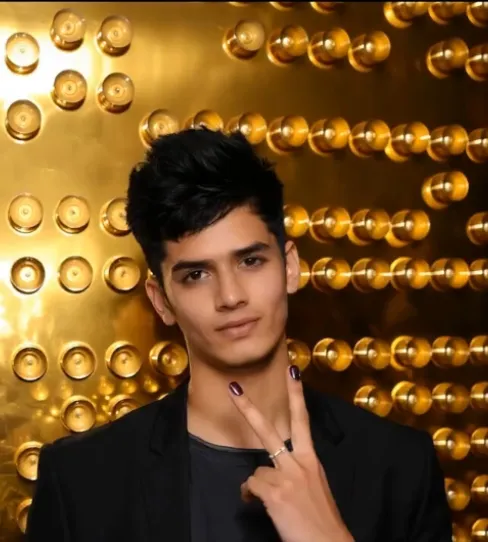 Cinematic transformation
Build a dark symbiote-inspired reveal with spreading texture, strong contrast, and controlled facial detail.
Best source: one centered portrait with clean edges and dramatic side lighting.Explore AI Venom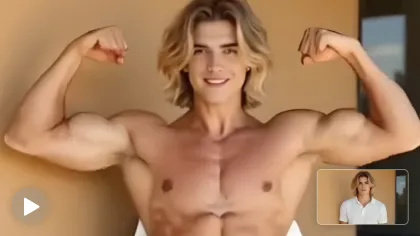 Power transformation
Turn a portrait into a comic-inspired green muscle transformation with an energetic pose and bold reveal.
Best source: a waist-up portrait with visible arms, a stable stance, and room around the silhouette.Explore AI Hulk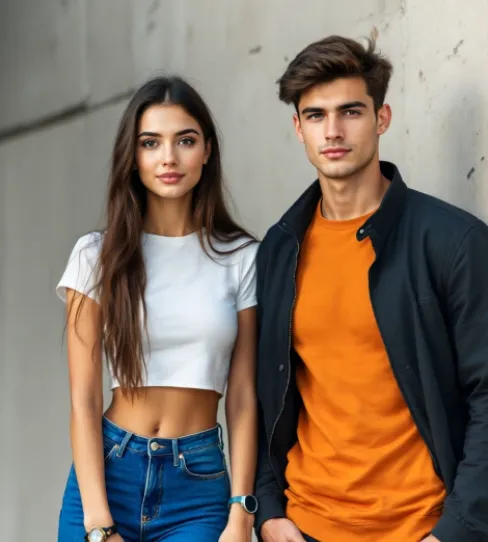 Romantic motion
Create a gentle cinematic kiss concept with subtle head movement, stable identities, and a natural pace.
Best source: two consenting adults at a similar scale with faces clearly visible.Explore AI KissFor cleaner motion, start with a sharp image, one or two clearly visible subjects, an uncluttered background, and enough space around the body for the effect to unfold.
Illustrative creative references, not guaranteed outputs from these models.
Use two selected images and a motion prompt to create a directed video transition between them.
Use one image to define the opening frame and another to define the ending frame of the generated video.
Describe the subject's movement, scene changes, transition speed, and camera direction between the two frames.
Select 16:9 for widescreen video, 9:16 for vertical content, or 1:1 for a square format.
Test different frame pairs, motion descriptions, and camera directions for free, then compare completed results in local history.
These examples help you choose a composition and movement before you create your own variation.
Upload a start frame and end frame, describe the transition between them, choose an aspect ratio, and generate the video. Finished clips appear in local video history.
Generate for free ↑Upload the opening image to Start Frame and the final image to End Frame. Both images are required for image-to-video generation.
Explain the action, transformation, pace, and camera movement between the frames, then choose an aspect ratio.
Submit the request, follow the queue status, preview the finished video with audio, and download the result.
Move between the original tool pages and choose the effect that best fits your image or story.
It uses MiniMax H3 to create a short video from two still images and your motion prompt: one image sets the start and the other sets the ending.
This workflow needs exactly two. The Start Frame establishes the opening image and the End Frame establishes the intended ending, so one upload is not enough.
Pick two images with a clear relationship, such as a product before and after a reveal or a character before and after an action. Use the prompt to describe the bridge.
Focus on the change between the frames: name the subject, explain what shifts, set the pace, and add camera direction if it matters. Keep the request to one transition.
No. This is an AI video generator: MiniMax H3 creates new movement and visual change between your supplied images rather than simply playing stills in sequence.
Free access is subject to service availability, queue capacity and content rules. Video results are for evaluation, not commercial use. Pixverse AI is an independent service and is not affiliated with pixverse.ai, PixVerse, OpenAI or MiniMax.
A practical framework for turning a short thought into a visual brief with subject, scene, light, lens, and intent.
Read article
Treat your prompt like a compact creative brief to gain more control over text, layout, materials, and iterations.
Read article
Create persuasive product scenes with credible materials, scale, shadows, reflections, and brand-safe composition.
Read article